34
Woohoo, here's the second post of the day! And it's going to be colourful :)
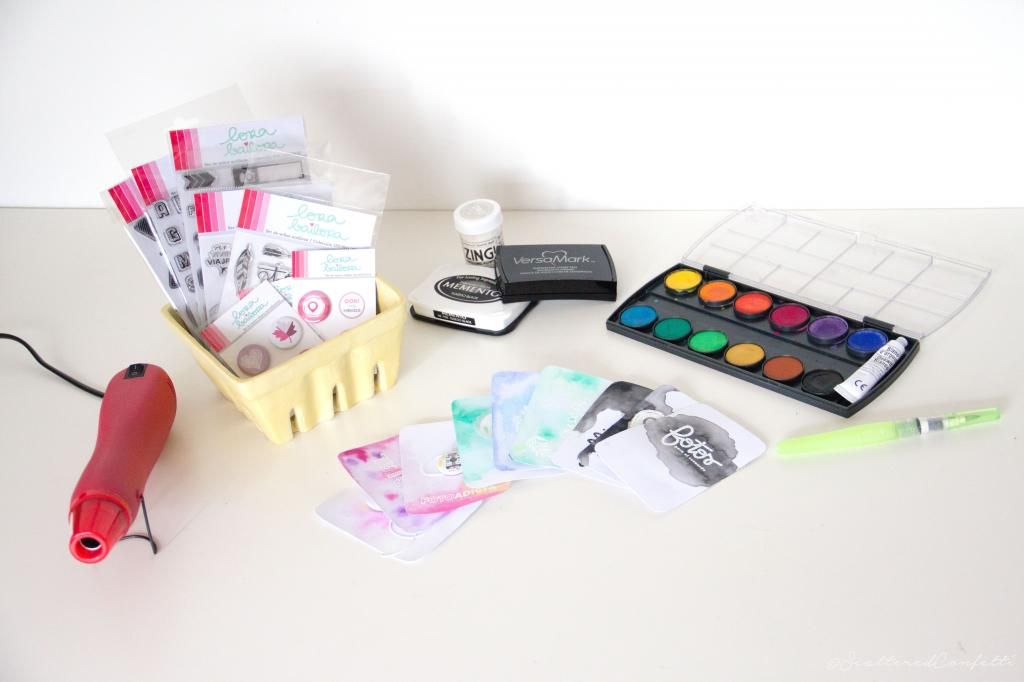
Today I’m going to show you a super easy and quick way how to make your own custom-made Project Life cards using Laura’s stamps and buttons, and only a few more things. And the best thing: this project won’t take you more than 15 minutes!
What you will need: white cardstock, cutter, watercolours, embossing ink (or any stamp ink that dries slowly), embossing powder, a heat gun and of course some stamps and buttons! :) (If
you don’t have a heat gun at home, don’t worry, your toaster will do
just the same – just hold your card over it until the embossing powder
has melted. Be careful not to burn yourself, though! :D )
Here’s how to make those cards (I didn't include any step by step photos because it's just so easy!):
1. Grab a piece of white cardstock and cut the size you want. (I made all of mine 3“x4“, but you can make any size you need, of course) 2.
Take a paintbrush and dip it in water to moisten the card (you can
moisten all of it, or just part of the card, depending on the effect you
want to achieve) – do not put paint on the brush, yet! 3. Now
when the card is wet, take some paint on your brush and dip it onto the
card – the colour will now find its way through the water and create a
really cool effect :) 4. Let the card dry. 5. Take your favourite stamp, put some embossing ink on it and press it onto the card. 6. Apply embossing powder and melt it with your heat gun (or toaster :D ). 7. You are done!
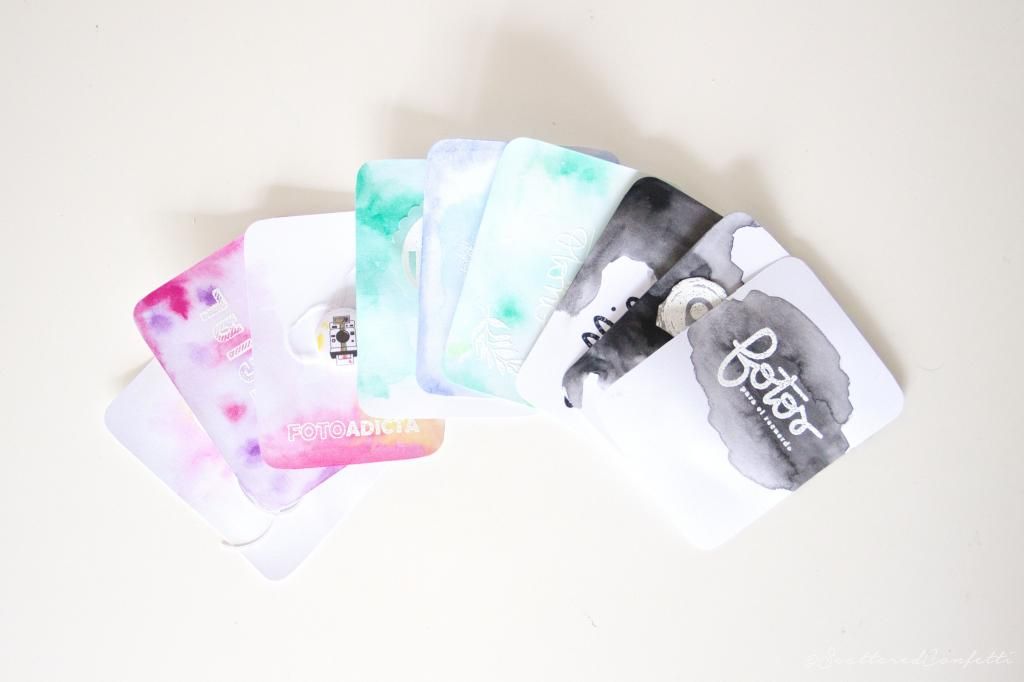
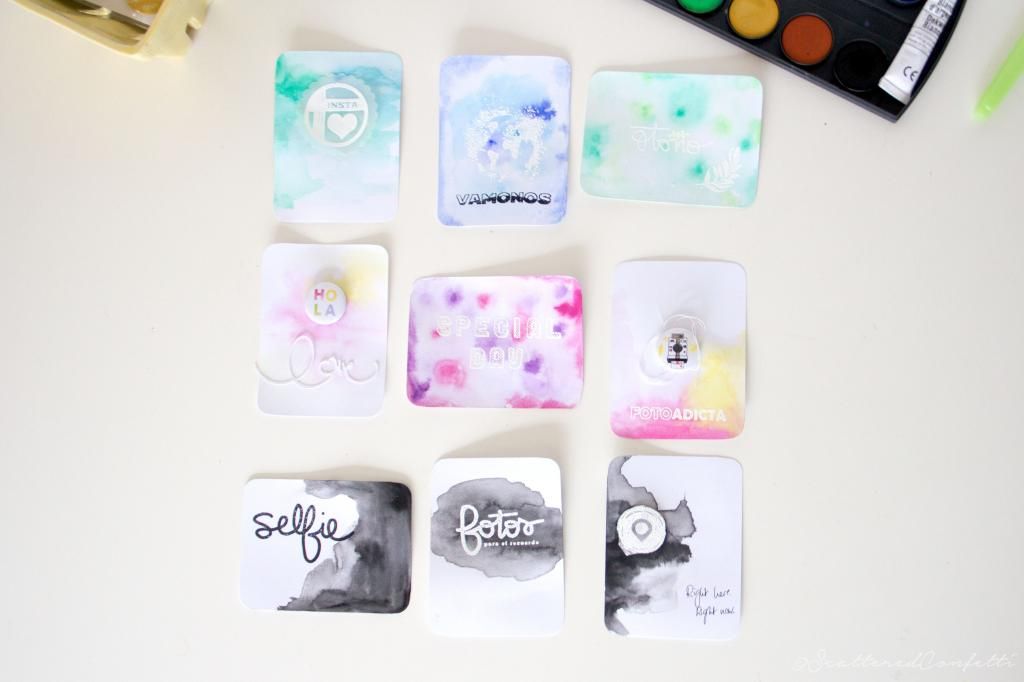
Now
you can admire your pretty cards and use them in your next Project Life
spreads! Or give them to a friend to put a smile on her face! :)
I
hope you like this quick and easy tutorial! Next time I’ll show you
some of the cards I made in action – and of course a new project
featuring Laura’s pretty products!
Which card is your favourite? I can't decide between the pink/yellow one with the camera button and the green "otoño" card :)
You should also check out Laura's blog where I shared this tutorial today, too and where you will find so many other great projects with her beautiful products by my incredibly talented DT colleagues!